Photography Tips for Mount Kenya National Park Safaris
Photography Tips for Mount Kenya National Park Safaris That Work
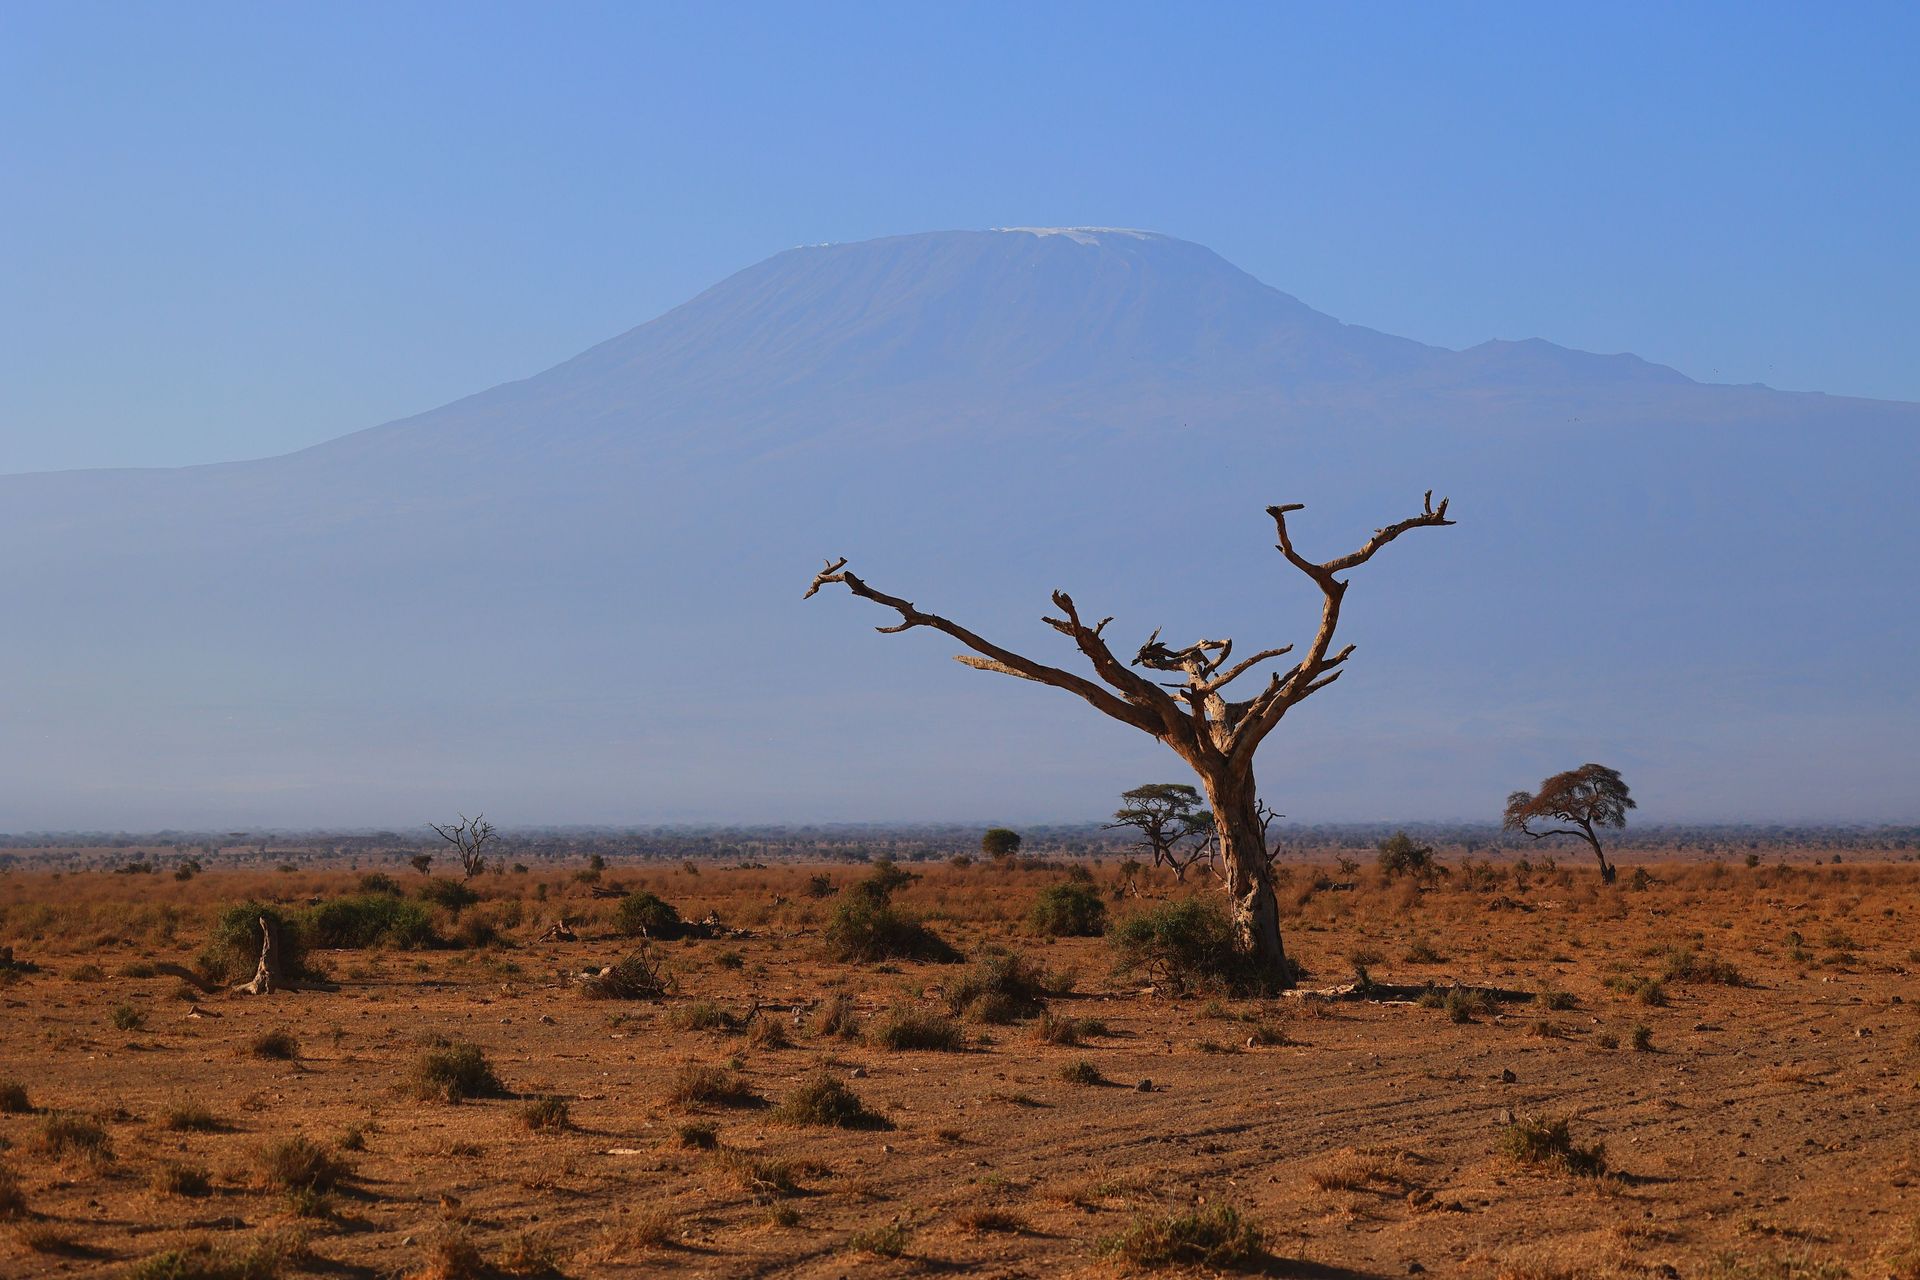
Good photography tips for Mount Kenya National Park safaris start with one simple idea: this is not a typical open-plains safari. Mount Kenya brings together forest, moorland, glacial valleys, fast-changing cloud, distant wildlife and one of East Africa’s most recognisable mountain profiles. Your best pictures will come from reading weather and habitat, not waiting for an animal to enter perfect light.
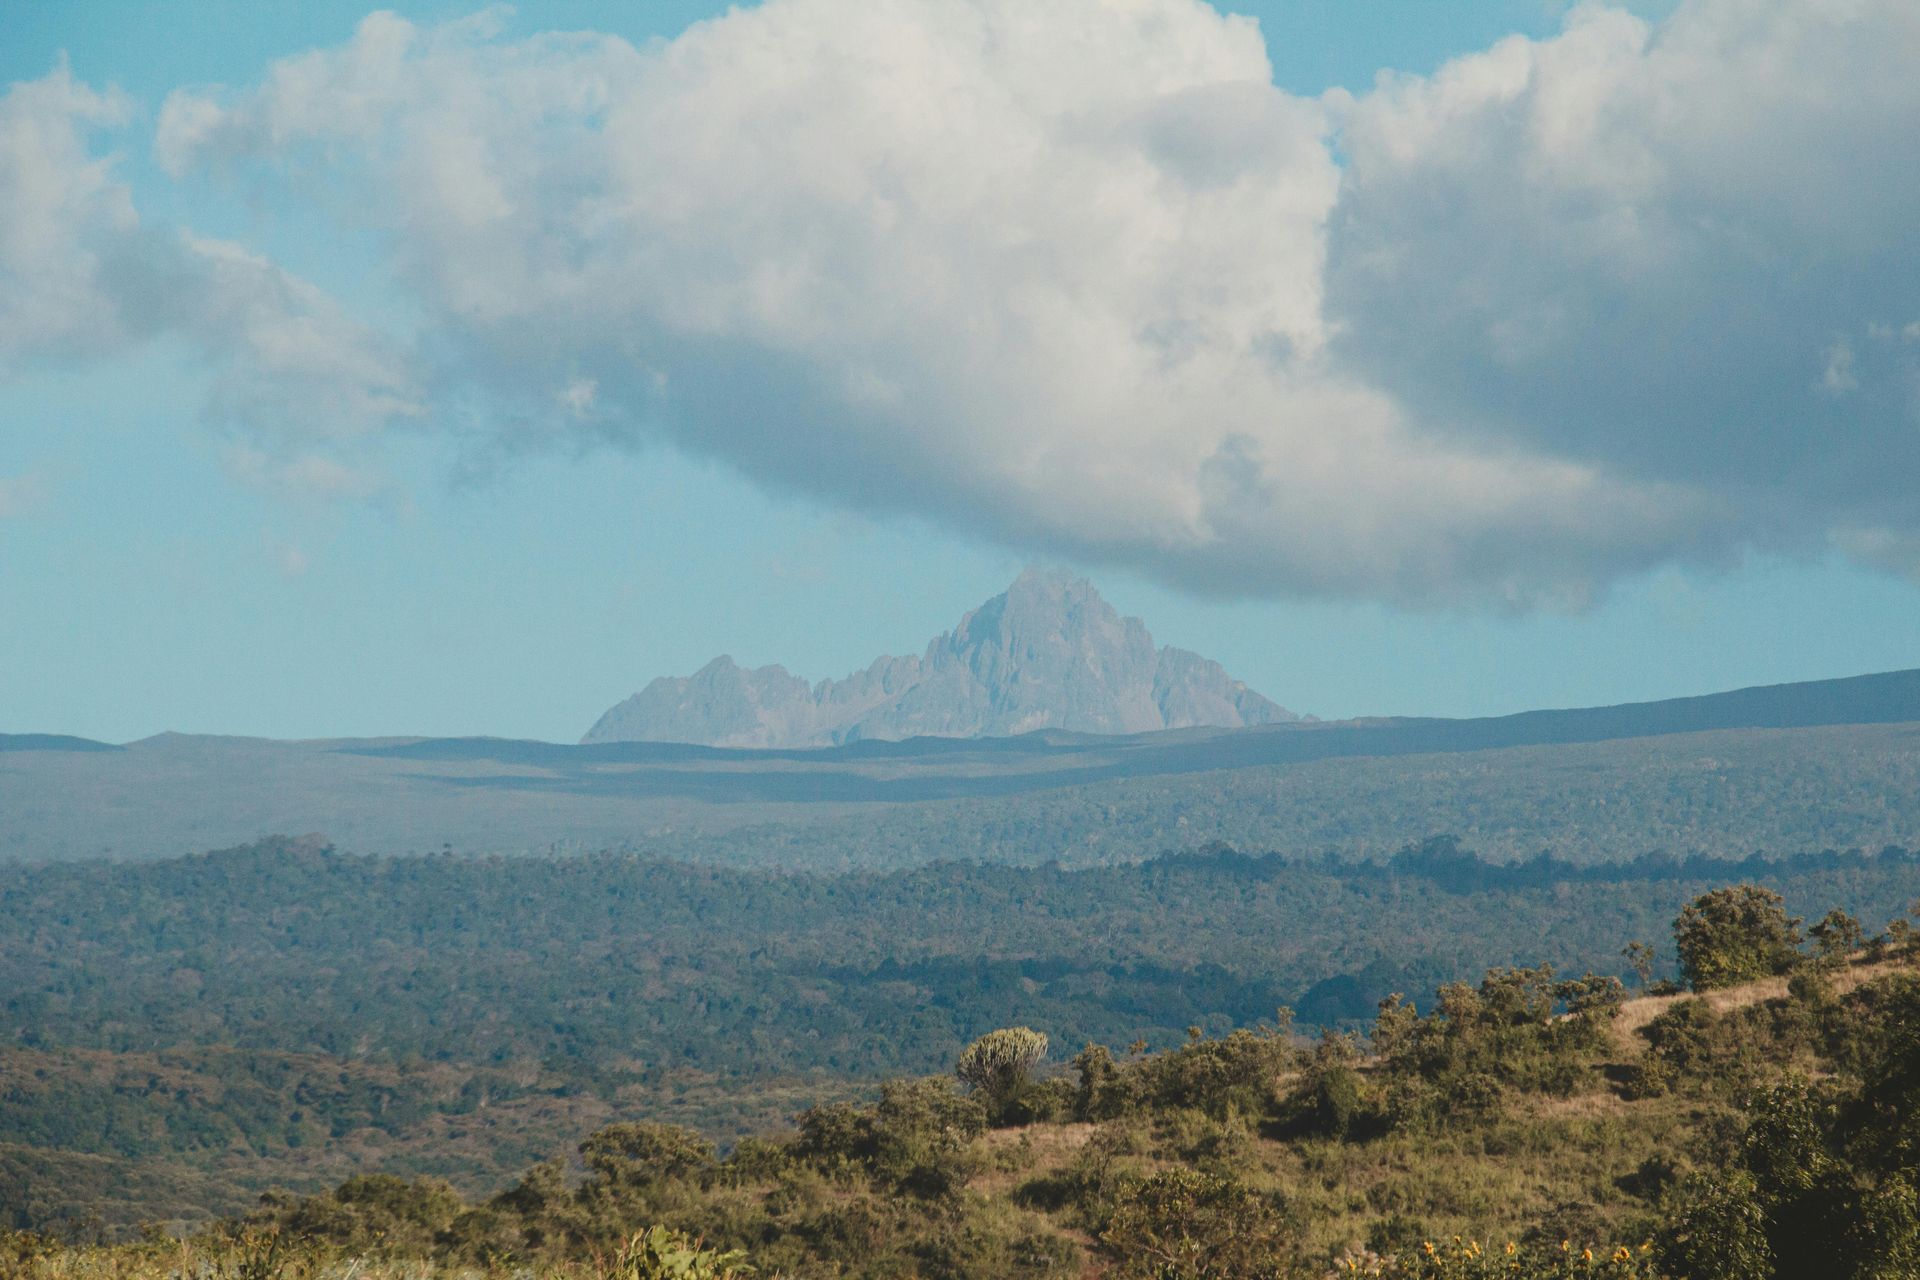
The mountain rises to 5,199 metres and forms part of a UNESCO World Heritage Site. Its scenery shifts from dense green forest to open Afro-alpine terrain as altitude increases. That range offers scale, texture, weather, plants and quiet moments that show how the ecosystem fits together.
These photography tips for Mount Kenya National Park safaris are designed for UK travellers using anything from a phone to a mirrorless or DSLR camera. You do not need professional equipment. You need preparation, realistic expectations and time to notice what is happening around you. The mountain rewards patience.
Plan the Pictures Before You Reach the Mountain
Understand the kind of safari Mount Kenya provides
Mount Kenya National Park is known as much for trekking, forest and mountain scenery as wildlife viewing. Dense vegetation can hide animals that would be easy to see on an open savannah. Photography tips for Mount Kenya National Park safaris should therefore cover mountain views, forest detail, birds, plants, changing light and wildlife encountered naturally.
This wider approach stops the trip becoming a frustrating search for a single species. It also produces a better travel story. One image may show mist lifting above the trees, while the next records giant vegetation on the moorland or a guide moving through a broad valley. Photography tips for Mount Kenya National Park safaris should help you capture the place as a living ecosystem, not treat it as a wildlife checklist.
Ask yourself what you most want to bring home. Is it a clean view of the peaks, a set of forest wildlife images, a record of a walking route or a balanced visual diary? Your answer shapes the route, pace and equipment. It may also affect whether Mount Kenya sits at the centre of the holiday or forms one part of a longer Kenya itinerary.
Choose your season for light, not promises
Clearer periods are often associated with January and February, then July to September, although mountain weather never follows a guaranteed script. Rain, mist and cloud can arrive quickly at altitude. They may hide the summit, yet they can also add depth and atmosphere. A bank of cloud moving across the forest can produce a stronger picture than a flat blue sky.
Photography tips for Mount Kenya National Park safaris should match the images you value. Drier conditions can bring cleaner long views and easier walking. Wetter months may offer richer greens, fuller streams and dramatic skies. Bird activity and flowering plants can add colour. Adaptation matters more than a promise of perfect conditions.
Apply photography tips for Mount Kenya National Park safaris flexibly. If the peaks appear briefly, photograph them before changing lenses or searching for a different viewpoint. When cloud closes in, turn towards the forest, patterns in the vegetation or details close to the path. The light can change in minutes. Keep the camera ready.
Use the legal hours and your route well
Kenya Wildlife Service states that park gates normally open at 6am and close at 6pm, unless visitors are staying overnight under the relevant arrangements. That means dawn and dusk photography must be planned around lawful access, accommodation and guidance. Do not pressure a driver or guide to ignore gate times for a picture. No photograph is worth breaking park rules.
The main approaches include Naro Moru, Sirimon and Chogoria. Each route gives a different feel because the terrain, vegetation and direction of the light vary. Your itinerary should match your fitness, available time and photographic priorities. A day visitor will work differently from someone completing a supported multi-day trek through the higher zones.
Discuss photography tips for Mount Kenya National Park safaris with your guide before setting out. Explain that you may need a few minutes for a mountain view, moving wildlife or a change of lens. A guide cannot guarantee subjects, yet good communication helps the day flow. Photography tips for Mount Kenya National Park safaris become far more useful when the itinerary allows time to observe rather than rush.
Pack two visual perspectives
A flexible lens choice is more useful than the longest lens you can afford. A wide or standard zoom helps with mountain profiles, forest interiors and people within the scenery. A telephoto zoom helps isolate wildlife, birds and distant sections of the peak. Many travellers find that covering a broad range without constant lens changes matters more than carrying several heavy specialist lenses.
Weight deserves careful thought. Domestic flights or smaller aircraft may have tighter baggage rules than the international journey. Check every sector before buying or hiring equipment. A bag that suits a long-haul cabin may still be too heavy or rigid for a local flight.
Bring spare batteries, several memory cards, a blower, a soft lens cloth and protection from rain and dust. Cold conditions at altitude can reduce battery performance, while damp forest air may fog lenses. Keep one battery close to your body in colder conditions and avoid opening the camera unnecessarily in rain or blowing dust. Simple preparation prevents missed frames.
- Use a wide or standard zoom for scenery and context.
- Carry a telephoto zoom for wildlife at a respectful distance.
- Pack a light rain cover and dry bag.
- Bring more battery power than a normal city break requires.
- Use multiple memory cards rather than relying on one large card.
- Check every internal flight baggage rule in advance.
Prepare your camera before each outing
Wildlife rarely waits while a photographer searches through menus. Before leaving, set the camera to a practical starting point. Use continuous autofocus for moving subjects, a burst mode that you can control and a shutter speed fast enough for hand-held work. Auto ISO can help when light shifts quickly between open ground and shaded forest.
Photography tips for Mount Kenya National Park safaris cannot prescribe one perfect setting. A bird in flight needs a faster shutter than a still mountain. A monkey moving through dark branches needs a different balance from a bright view. Learn how to change shutter speed, aperture and exposure compensation without taking your eye away from the scene. Familiar equipment beats unfamiliar prestige.
For many wildlife situations, start around 1/1000 second and adjust for the subject and available light. Slower movement may allow a lower speed, while birds or sudden action can demand more. Use a wider aperture when you need light or background separation. Stop down for layered views where foreground and mountain both need clarity.
These photography tips for Mount Kenya National Park safaris also apply to phones. Clean the lens, turn off distracting filters, tap to expose for the main subject and use the optical zoom range where available. Avoid heavy digital zoom because it removes detail. A well-composed phone image in good light can be more memorable than a poorly timed picture from expensive equipment.
Expose for cloud, snow and bright sky
Photography tips for Mount Kenya National Park safaris must account for difficult metering. Bright cloud, pale rock, mist and any remaining snow or ice may cause the camera to make the whole frame too dark. Check the histogram and highlight warning, then use exposure compensation when needed. Protect important bright detail without leaving the lower slopes as an unreadable black mass.
Bracketing can help with high-contrast scenes, especially when the sky is bright and the forest is shaded. Take several exposures while keeping the framing steady. You can choose the best file later or blend them carefully for a natural result. Avoid processing that makes the mountain look artificial. The scene should still feel believable.
A polarising filter may reduce glare, but use it carefully with wide lenses. Uneven darkening can appear across a broad sky, and the filter reduces light in forest shade. Photography tips for Mount Kenya National Park safaris favour control over automatic use of accessories.
Photograph scale as well as detail
Photography tips for Mount Kenya National Park safaris should reveal the mountain’s scale. A lone walker, a line of trees or a small animal can provide a visual reference. Without that reference, a steep valley may look surprisingly flat. Place the smaller subject where it guides the eye through the frame, rather than leaving it lost in the centre.
Use foreground elements to build depth. Rocks, grasses, branches and water can lead towards the mountain. Watch the edges of the frame for cut-off branches or bright distractions. Move a few steps when it is safe and permitted. Small changes in position can transform the relationship between foreground and peak.
Portrait orientation suits steep ridges, tall forest and plants, while a wider frame suits valleys and layered horizons. Take both when time allows. Leave space for later cropping. Strong composition often comes from simplifying the frame.
Let changing weather become part of the story
Photography tips for Mount Kenya National Park safaris should treat mist as an opportunity. It separates forest layers, softens contrast and creates a sense of altitude. Rain deepens colour, while broken cloud can send light across a valley. Protect the camera and look for pictures that clear weather cannot create.
Focus may struggle in low contrast. Use a clear edge, tree trunk or textured ridge at the same distance as the subject. Manual focus can help when fog confuses autofocus. Keep checking the front element for water droplets, especially after moving from cold air into a warmer vehicle or building.
Weather also affects your own concentration. Cold hands make controls harder to use, and fatigue can lead to careless framing. Wear layers, carry water and follow your guide’s advice. A comfortable photographer notices more. That is one of the most practical photography tips for Mount Kenya National Park safaris.
Turn the Safari into a Stronger Photo Story
Photograph wildlife without changing its behaviour
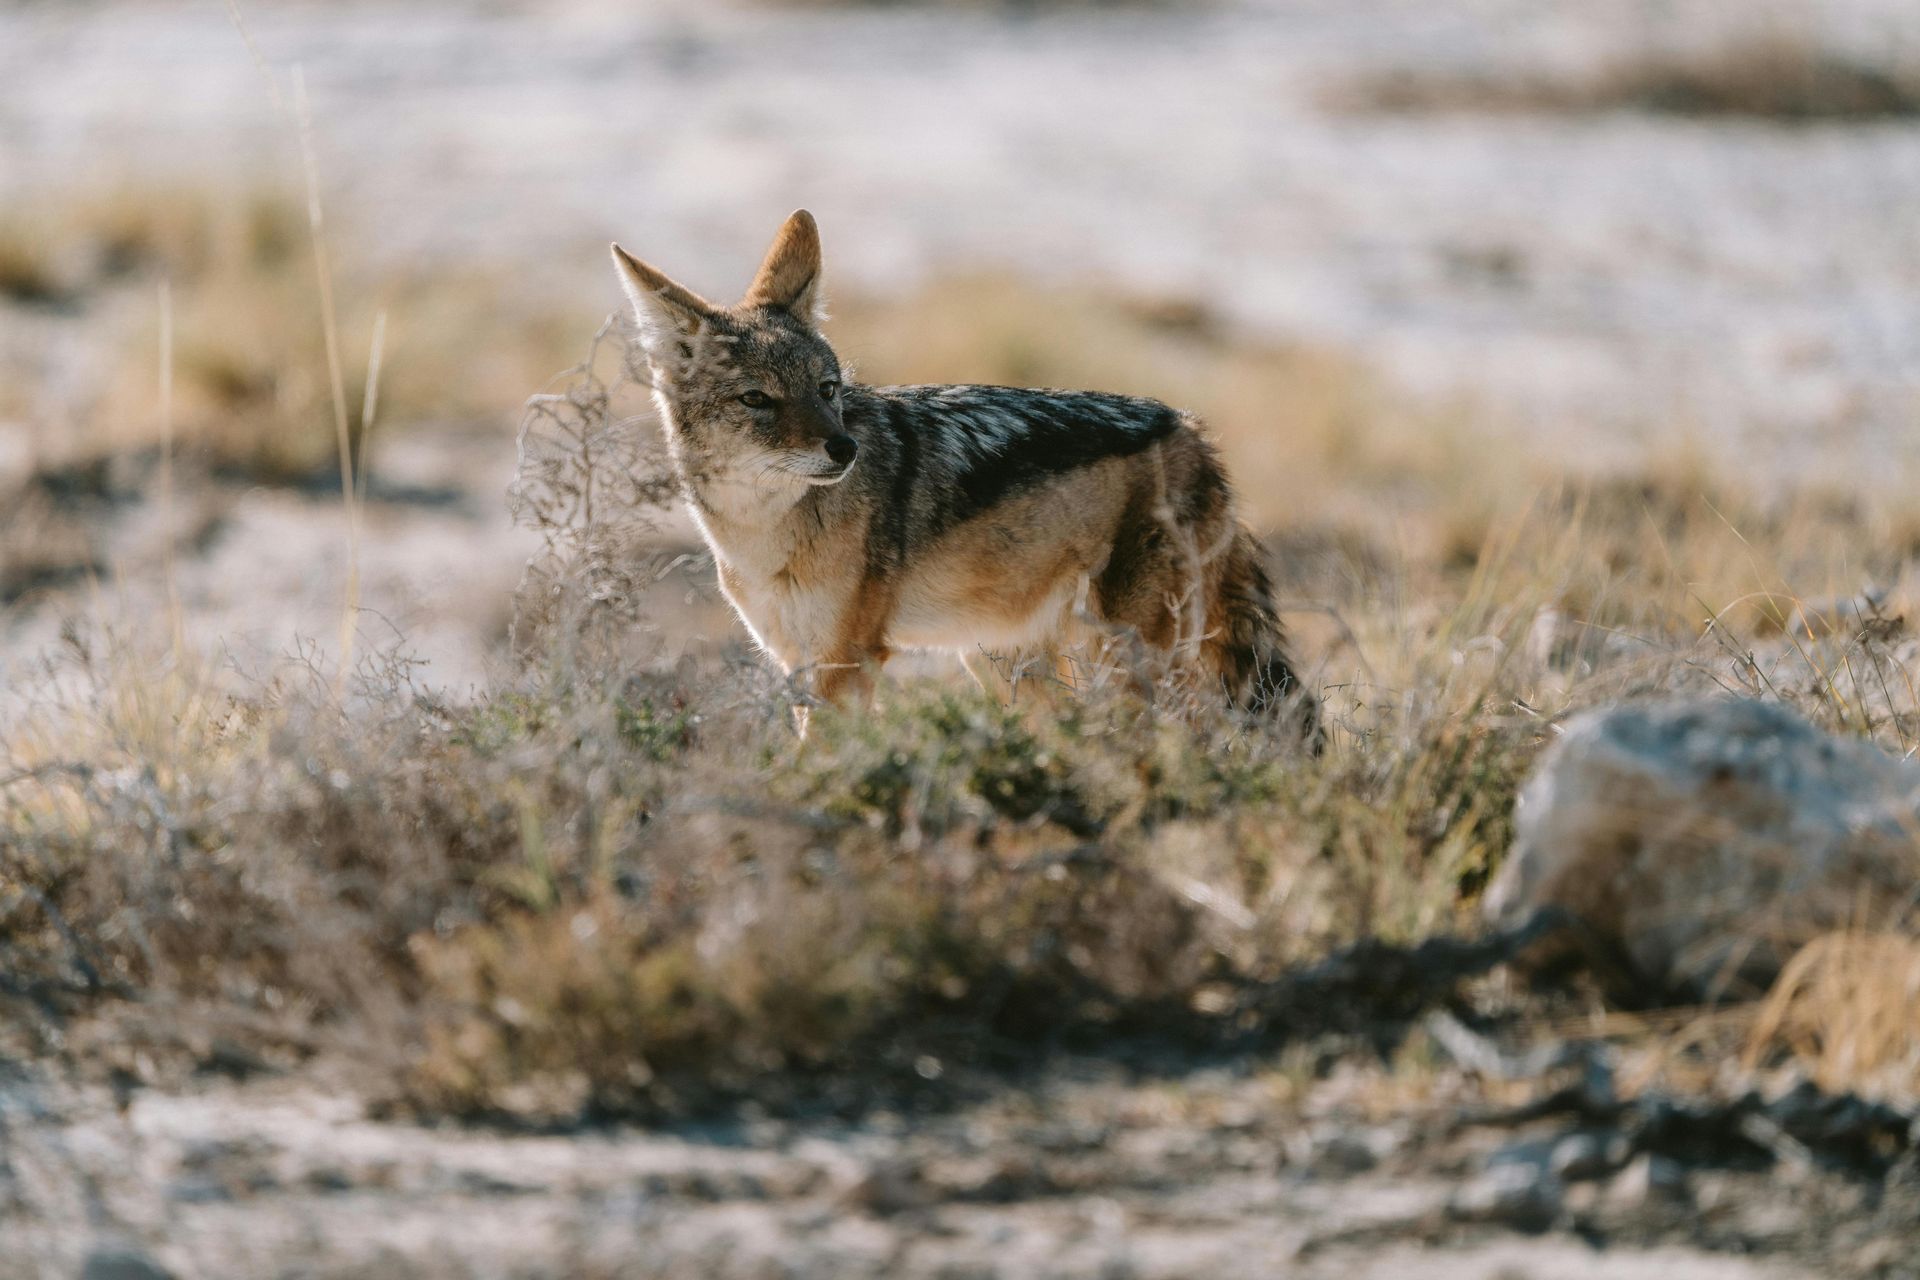
Mount Kenya’s forest and lower slopes support wildlife, but sightings may be brief and partly obscured. A telephoto lens lets you work from a sensible distance. Stay quiet, remain where your guide directs and never ask anyone to chase, block or crowd an animal for a clearer angle. Wildlife always comes first.
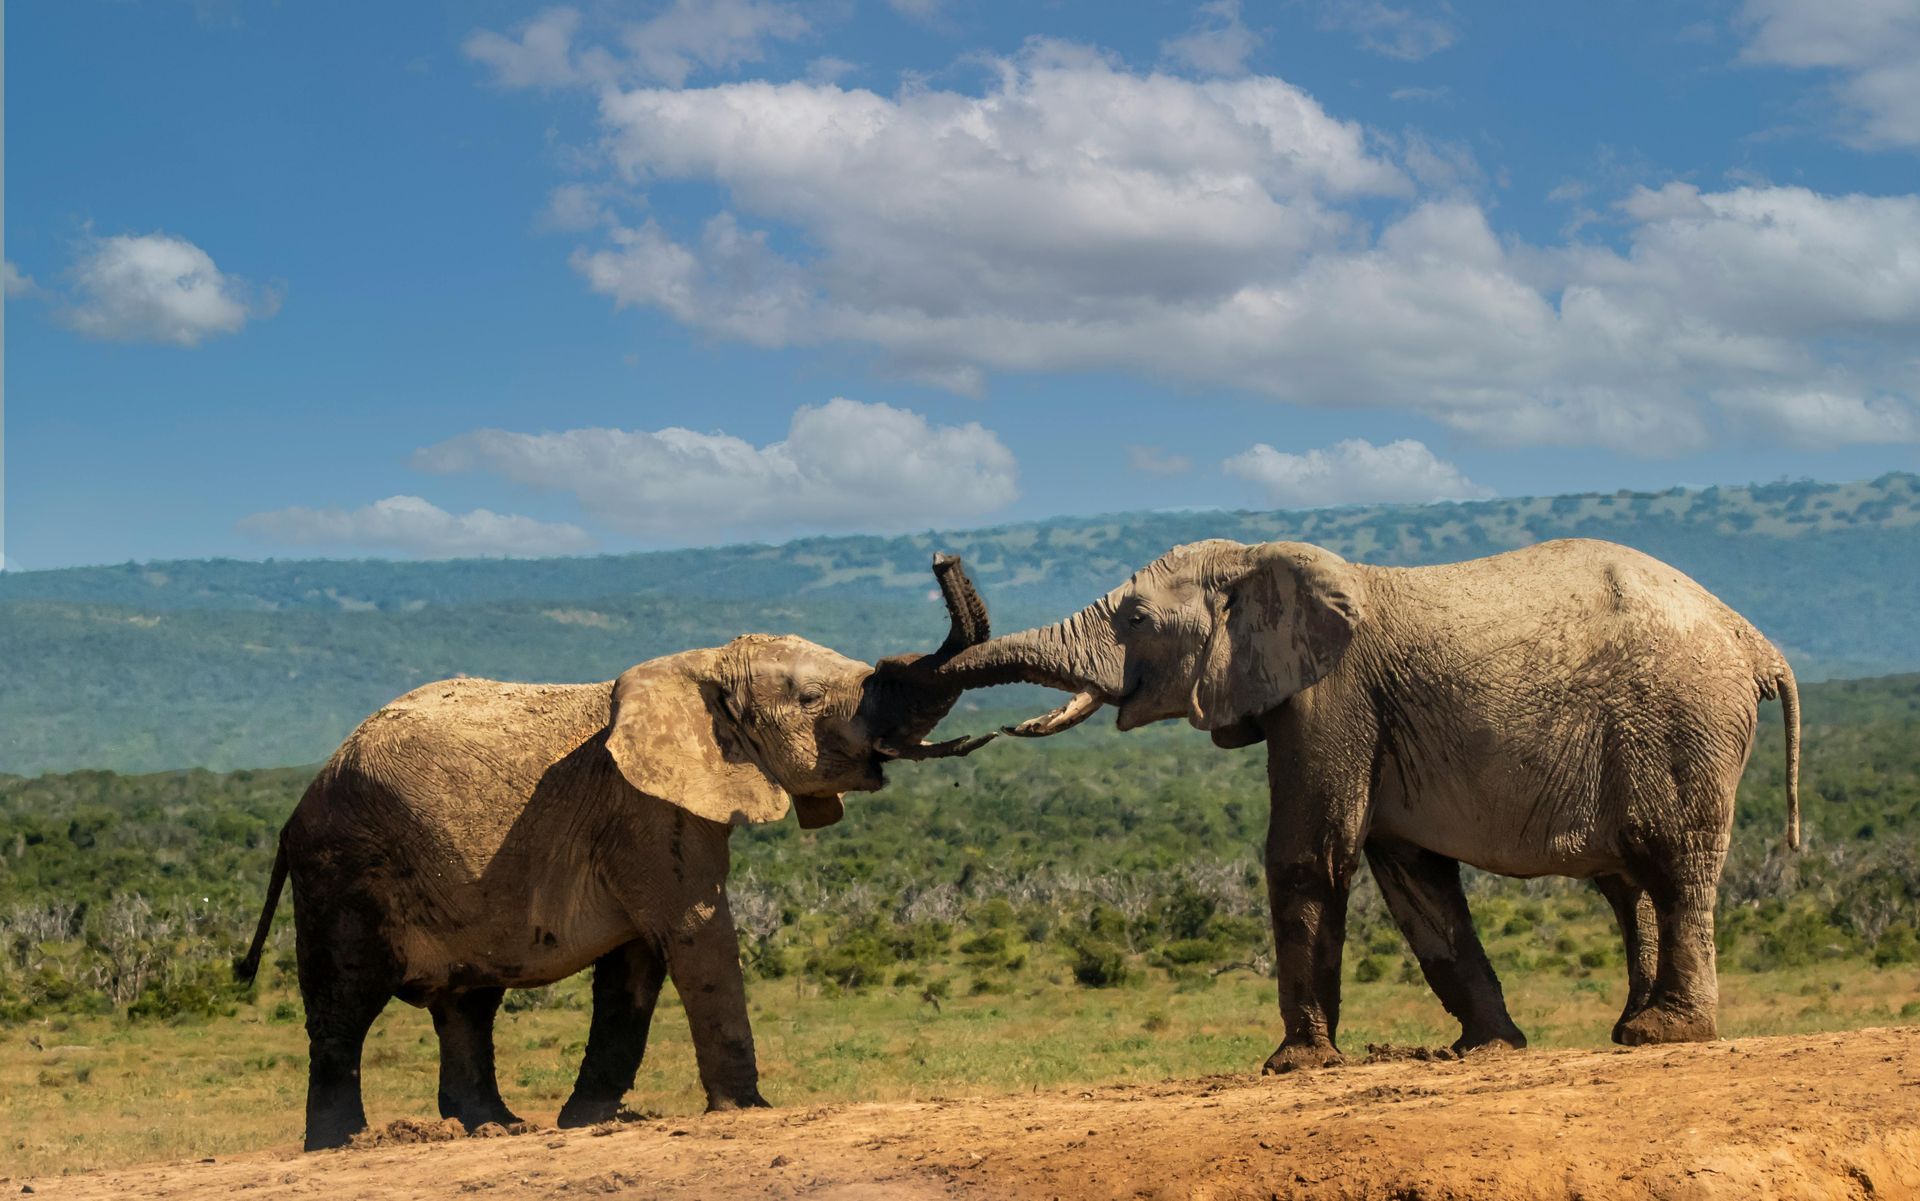
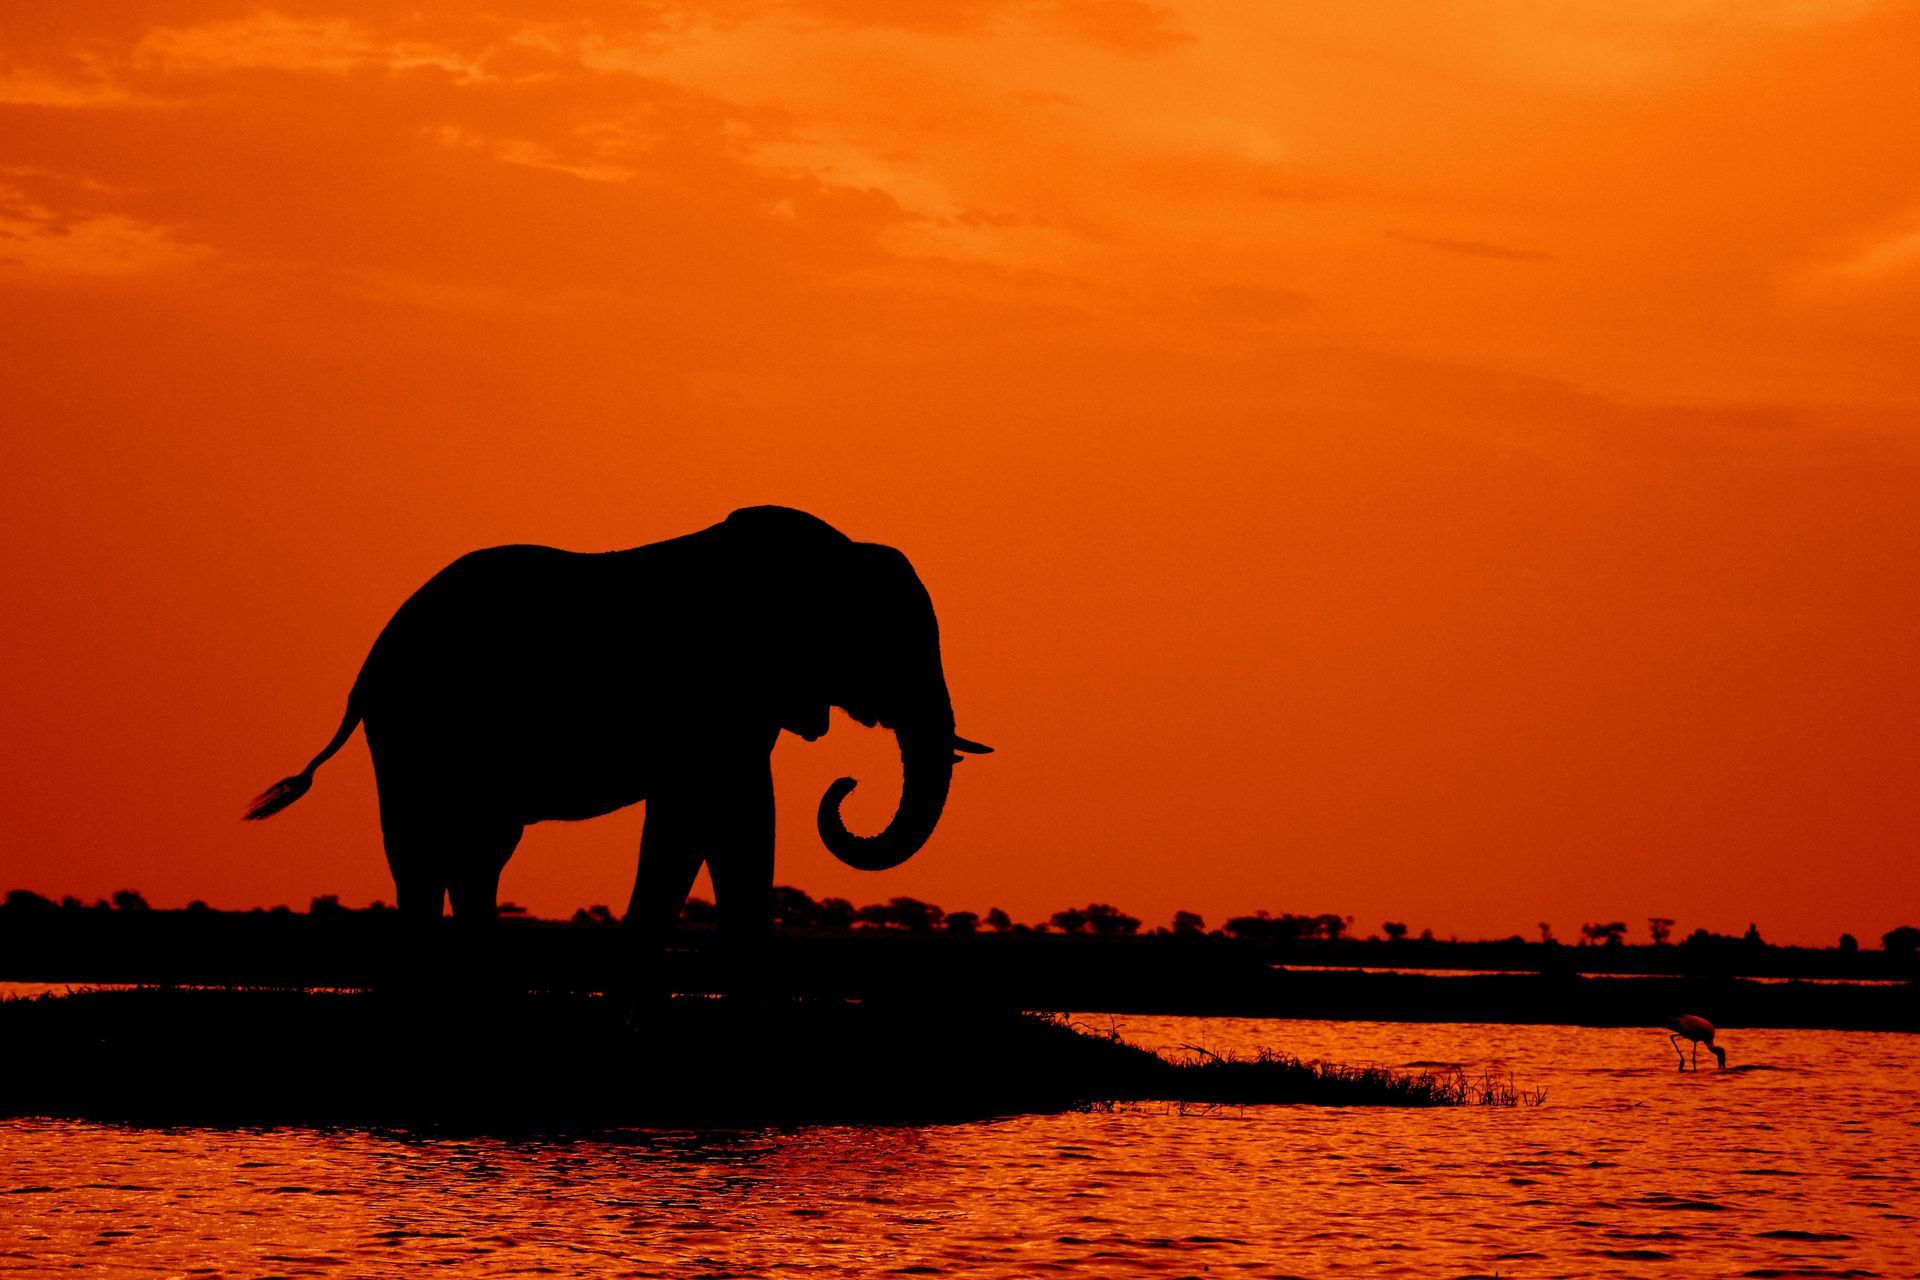
Watch for behaviour rather than waiting only for eye contact. An elephant moving between forest cover, a monkey feeding or a bird calling from a branch can tell more than a tight portrait. Include enough habitat to explain where the animal lives. The environment is part of the subject.
Never use food, calls, flash or sudden movement to force a reaction. Do not share precise locations for rare or vulnerable species. Follow all park and guide instructions about leaving vehicles or walking. Photography tips for Mount Kenya National Park safaris must protect the animals and the people taking the pictures.
The shareable truth is simple: the best wildlife photograph never costs an animal its peace.
Look beyond large mammals
Photography tips for Mount Kenya National Park safaris should widen your attention beyond large wildlife. Birds, insects, bark, lichens, flowers, tracks and changing vegetation can build a richer set of images. The transition from forest to moorland is a story in itself. Photograph the way colour, height and texture change as you climb.
A telephoto lens can isolate birds against a clean background, while a close-focusing lens or phone can record plants and patterns. Stay on recognised routes and do not step onto fragile ground for a better angle. Never move plants, nests or natural objects to improve a composition.
These photography tips for Mount Kenya National Park safaris encourage a varied sequence. Start with an establishing view, move to medium frames and then capture detail. That pattern helps a gallery feel complete. It also gives viewers a sense of travelling through the place with you.
Use guides as partners in observation
A knowledgeable guide can recognise calls, tracks, weather changes and safe places to stop. Tell them what you hope to photograph, but listen when they explain what is realistic. They know the route and current conditions. Their judgement matters more than a photograph planned from an old social media post.
Ask before photographing guides, porters, residents or community members. Consent should be clear and unpressured. Learn names where appropriate, avoid turning people into background decoration and respect requests not to be photographed. Responsible travel includes the way a camera is used around people.
Would you rather return with one respectful, well-observed image or fifty rushed pictures that say very little? Slowing down usually improves both the experience and the final edit. The camera should deepen your attention, not separate you from the place.
Build a simple daily shot list
A short shot list keeps you alert without making the day rigid. Include one wide scene, one environmental wildlife frame, one close detail, one image showing movement and one picture that records human scale. Treat the list as a prompt.
Review a few files during a quiet stop. Check sharpness, exposure and whether dust spots appear in the same place. Do not spend the whole journey looking at the back screen. A quick technical check can prevent a repeated mistake, then the camera should return to ready position.
Back up files whenever the itinerary allows. Use two cards in-camera where possible, then copy images to a separate device at day’s end. Keep that backup apart from the main camera bag. Photography tips for Mount Kenya National Park safaris must protect the work as well as the equipment.
Plan the UK journey around your equipment
Most UK itineraries begin with a flight to Nairobi, followed by road travel towards Nanyuki or one of the main access points. Some journeys use a domestic flight, while others include Mount Kenya within a longer road circuit. The best choice depends on time, budget, luggage and the wider safari plan.
Apply for Kenya’s electronic travel authorisation in advance and check current passport, health and travel advice before departure. Rules can change. Travellers carrying a drone must research Kenyan import, aviation and park permissions well ahead of time. Do not assume a small recreational drone can be brought in or flown freely.
Keep cameras, lenses, cards and essential batteries in hand luggage wherever carrier rules allow. Insure equipment for its full replacement value and confirm cover for trekking, altitude and the activities in your itinerary. Check whether the policy requires receipts, serial numbers or special storage. Good planning protects more than photographs.
Combine Mount Kenya with a different photographic habitat
Mount Kenya works well within a broader Kenya itinerary because it offers a visual contrast to open savannah and semi-arid country. A route may pair the mountain with a conservancy around Laikipia, the dry scenery of Samburu or the grasslands of the Masai Mara. Each area calls for different camera decisions.
On the mountain, wide views, forest detail and weather may dominate. In an open reserve, longer lenses and vehicle support may be more useful. Plan equipment around the whole route. Hiring a specialist lens can make sense for only part of the holiday.
Awake in the Wild creates safari experiences for every traveller, including itineraries shaped around photography, mobility, pace and comfort. A photography-led trip does not need to feel like a technical workshop. It can simply allow better timing, patient guiding and enough space to respond when nature changes the plan.
Our View: Mount Kenya is at its most rewarding when photographers stop chasing a single perfect wildlife shot. Give equal attention to weather, forest, people, plants and scale, and the final collection will feel far more honest.
Know when professional permissions may apply
Ordinary holiday photography differs from commercial filming or a professional production. Larger shoots, organised crews, specialist setups and drones may require advance permission from Kenya Wildlife Service and other Kenyan authorities. Requirements can change, so written approval should be secured before travelling.
Do not rely on a lodge employee, online forum or old blog post to confirm permission. Ask the relevant authority and keep copies of approvals. Photography tips for Mount Kenya National Park safaris must separate personal holiday images from work that may fall under commercial filming rules.
Book with clear financial protection
Awake in the Wild is part of the Jamie Wake Travel family and operates within Wake Enterprises Limited. Jamie Wake Travel is a member of Protected Trust Services, number 6266, and holds ATOL number 12759. The protection applying to a booking depends on the travel services and arrangements included.
ATOL protection applies only where relevant to eligible flight-inclusive arrangements. Customers should read the ATOL Certificate supplied for their booking because it confirms which parts receive ATOL protection. If a service is not shown on that certificate, it may not be ATOL protected. Tailor-made holidays include SFI and SAFI where applicable.
Bring home a better Mount Kenya story
The most useful photography tips for Mount Kenya National Park safaris are not about owning more equipment. They are about planning the route, learning the controls, watching the light and treating wildlife and people with respect. A flexible photographer will find subjects in clear weather, cloud, forest and high moorland.
Awake in the Wild can help shape a Mount Kenya journey around the photographs you want to make, while keeping the itinerary realistic for your time, ability and wider Kenya plans. Call 01495 400545 or use our contact form. The team is a call or message away.
Frequently asked questions
What are the best photography tips for Mount Kenya National Park safaris?
Plan for scenery, forest, plants, birds and wildlife rather than one subject. Carry flexible lenses, prepare camera settings before leaving, protect equipment from rain and follow your guide’s instructions.
What lens should I take to Mount Kenya National Park?
A wide or standard zoom suits scenery, while a telephoto zoom helps with birds and wildlife at a respectful distance. Choose equipment you can carry comfortably throughout the route.
When is the best light for photography at Mount Kenya?
Early and late light can be attractive, but lawful access and mountain weather shape the opportunity. Cloud, mist and rain can also create strong images, so stay flexible.
Do photography tips for Mount Kenya National Park safaris apply to phones?
Yes. Clean the lens, use optical rather than heavy digital zoom, tap to expose for the subject and compose carefully. Good light and timing matter more than the device.
Can I use a drone in Mount Kenya National Park?
Do not assume so. Bringing a drone into Kenya and flying it can require advance approval from aviation and wildlife authorities. Check current written requirements before travelling.
Is Mount Kenya a good place for wildlife photography?
It can be rewarding, but dense forest makes sightings less predictable than in open savannah parks. Treat scenery, birds, plants and environmental wildlife images as key parts of the experience.
How do I keep camera equipment safe in wet mountain weather?
Use a rain cover or dry bag, carry lens cloths and keep spare batteries protected. Avoid changing lenses in rain, and allow equipment to adjust gradually between cold and warm conditions.
What camera settings should beginners use on safari?
Start with continuous autofocus, a controllable burst mode and a shutter speed suited to the subject. Auto ISO can help in changing light, but review images and adjust as conditions change.
Do I need a commercial photography permit?
Personal holiday photography and commercial production are not the same. Professional filming, crews, specialist setups or publication work may require permission, so check directly with the relevant authorities.
How early should I plan photography tips for Mount Kenya National Park safaris?
Begin before booking flights. Route choice, season, baggage limits, equipment insurance, permissions and the wider Kenya itinerary can all affect the photographic experience.
About Jamie Wake
Jamie Wake is the founder of Awake in the Wild and Jamie Wake Travel, helping UK travellers plan meaningful wildlife holidays, safaris and nature-led adventures.
His first-hand safari experience includes travelling through Kenya’s Masai Mara, Tsavo East and Tsavo West, with his favourite experience being taking a hot-air balloon flight over the Mara. Jamie always recommends combining a safari with time on the coast where possible. Jamie uses both personal experience and professional travel-industry knowledge to help travellers compare destinations, reserves, lodges and itineraries more confidently.
Through Awake in the Wild, Jamie shares practical, honest guidance about wildlife encounters, responsible tourism and choosing experiences that suit each traveller - not simply the option with the best marketing.